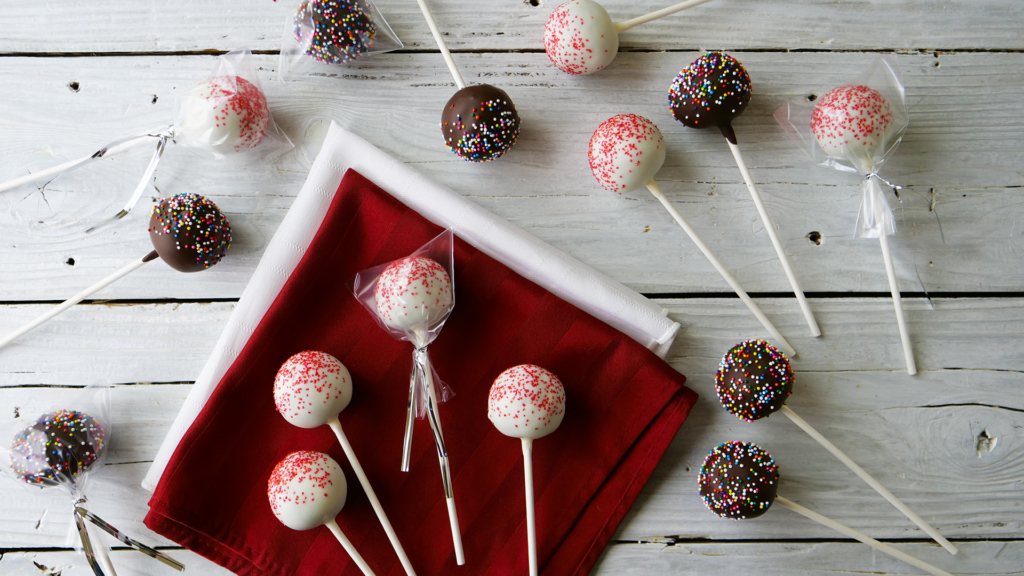
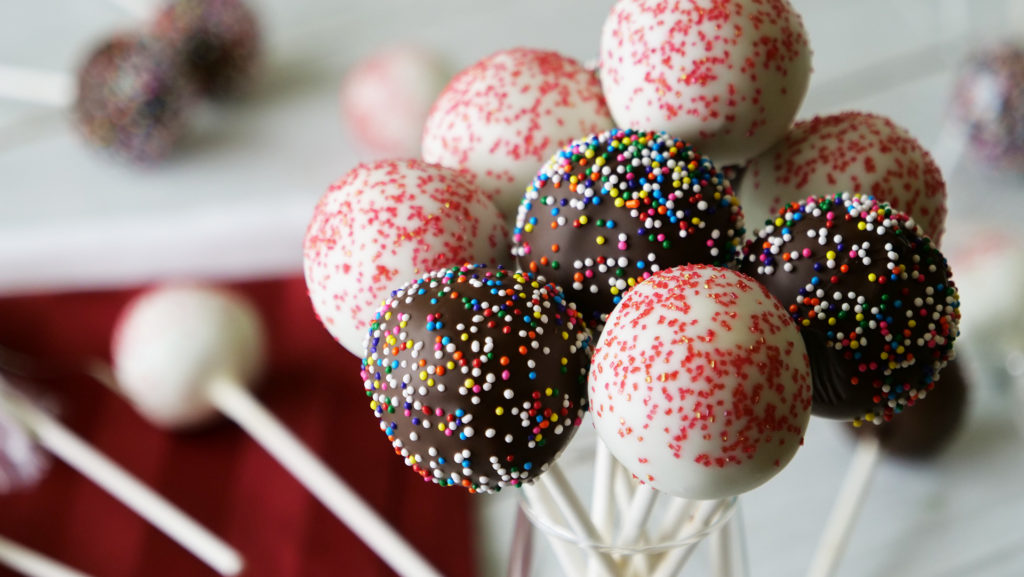
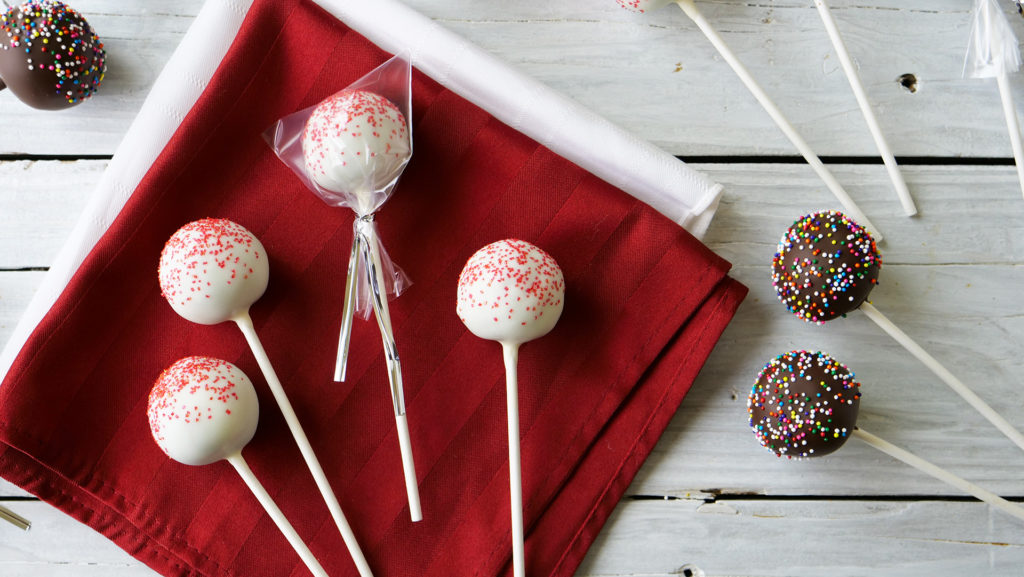
Ever since cake pops became a trendy “thing” in the early 2010s, they’ve become a staple of hip, single-serving desserts. Take your favorite cake flavor, mix it with some icing, form into balls, give a chocolate or candy coating, and serve on lollipop sticks. What’s not to love?
This gluten-free chocolate cake pop recipe is such a hit, we’re almost sorry to give them away for events like school class parties! It’s based on our chocolate cake recipes in either Gluten-Free Family Favorites or Artisanal Gluten-Free Cupcakes, but you can substitute your favorite, go-to GF chocolate cake.
Ingredients
Method
- Bake a full batch of chocolate cake per the recipe. (You can bake the cake batter in a 9×13-inch cake pan, two 9-inch round cake pans, or cupcake tins. It won’t much matter for the finished cake pops.)
- While the cake is cooling after baking, make the frosting by creaming together all ingredients until smooth and fluffy.
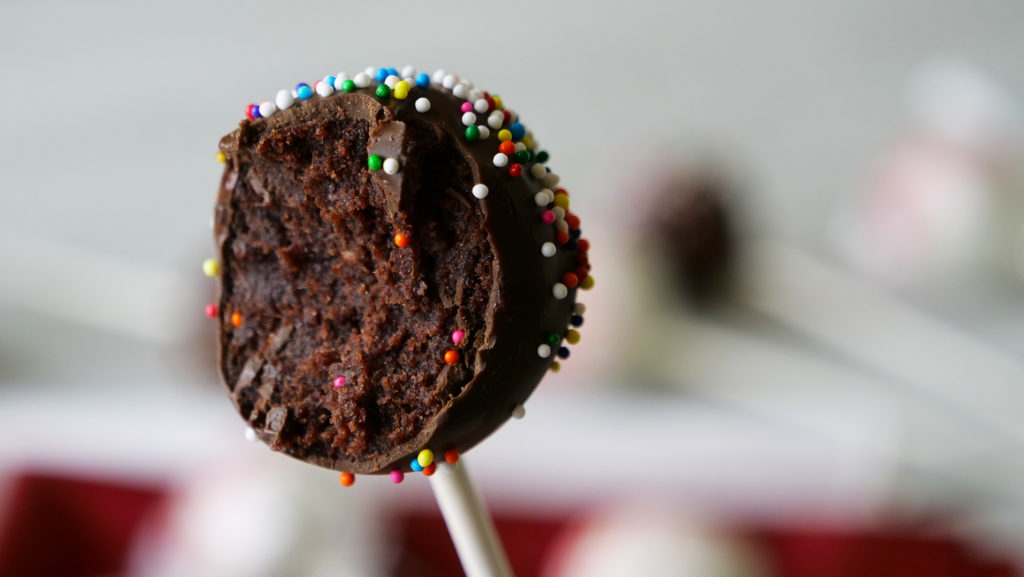
- When the cake is cool, turn it out of the pan(s) into a large bowl, then break the cake into pieces. Add the frosting, mixing and kneading with your hands until the cake and frosting are completely incorporated and uniform consistency. (The mixture should be thick and fudgey.)
- Use a 1.5-tablespoon cookie scoop to form the cake into rough balls, then roll each ball in your hands to form a smooth ball. Set aside (ideally on a sheet pan with a small lip, to prevent any cake balls from rolling away!)
- Melt a small amount of the candy coating in a glass measuring cup in the microwave. Dip the end of each lollipop stick into the melted coating, then immediately into a cake ball, inserting about halfway into the ball. Repeat until all cake balls are skewered with lollipop sticks, then place in the freezer for about 30 minutes.
- Melt the remaining candy coating in a glass measuring cup or similar. (Note: narrow and taller is better than wide and shallow, so that the candy coating remains deep enough to fully submerge each cake pop ball.)
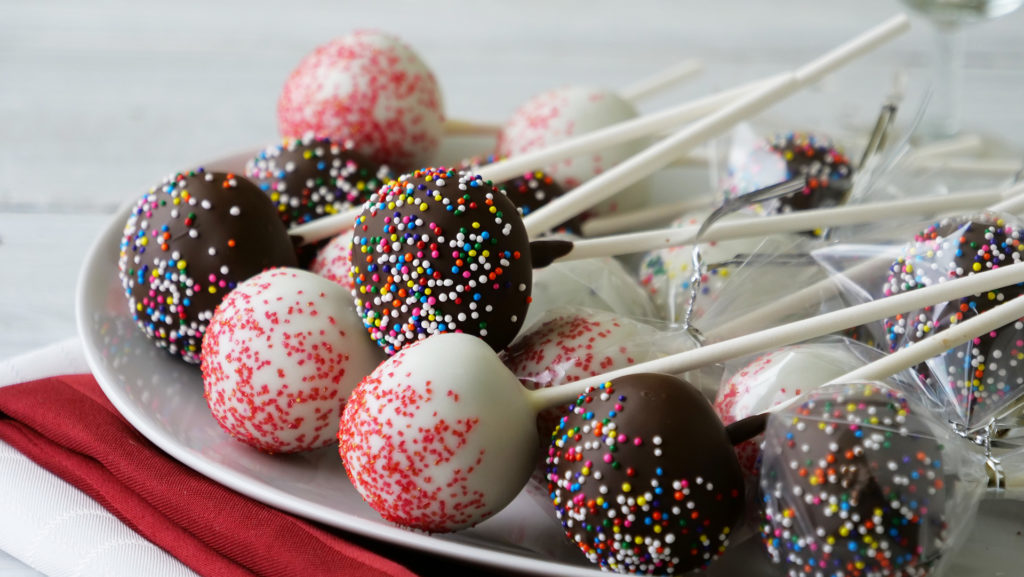
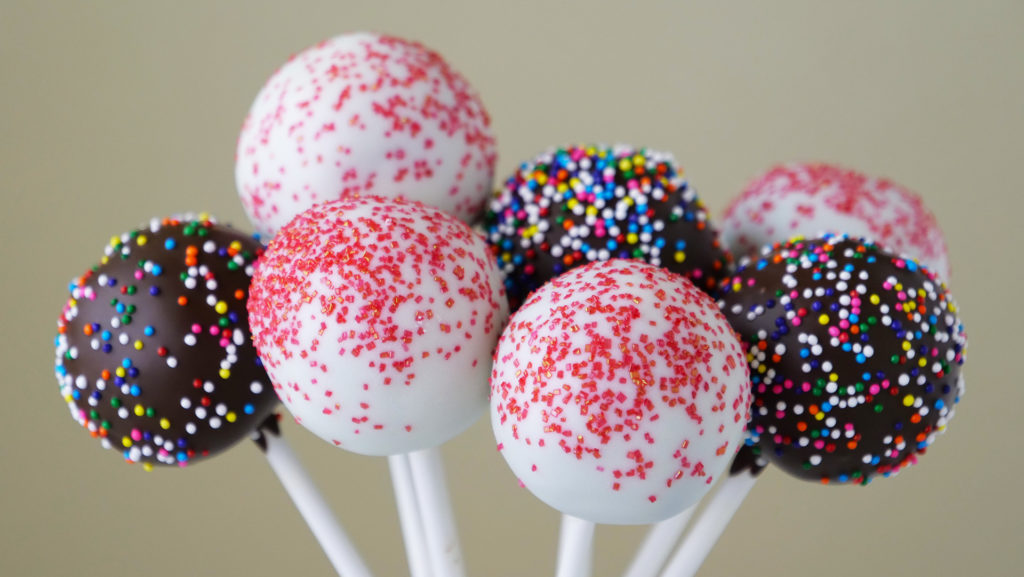
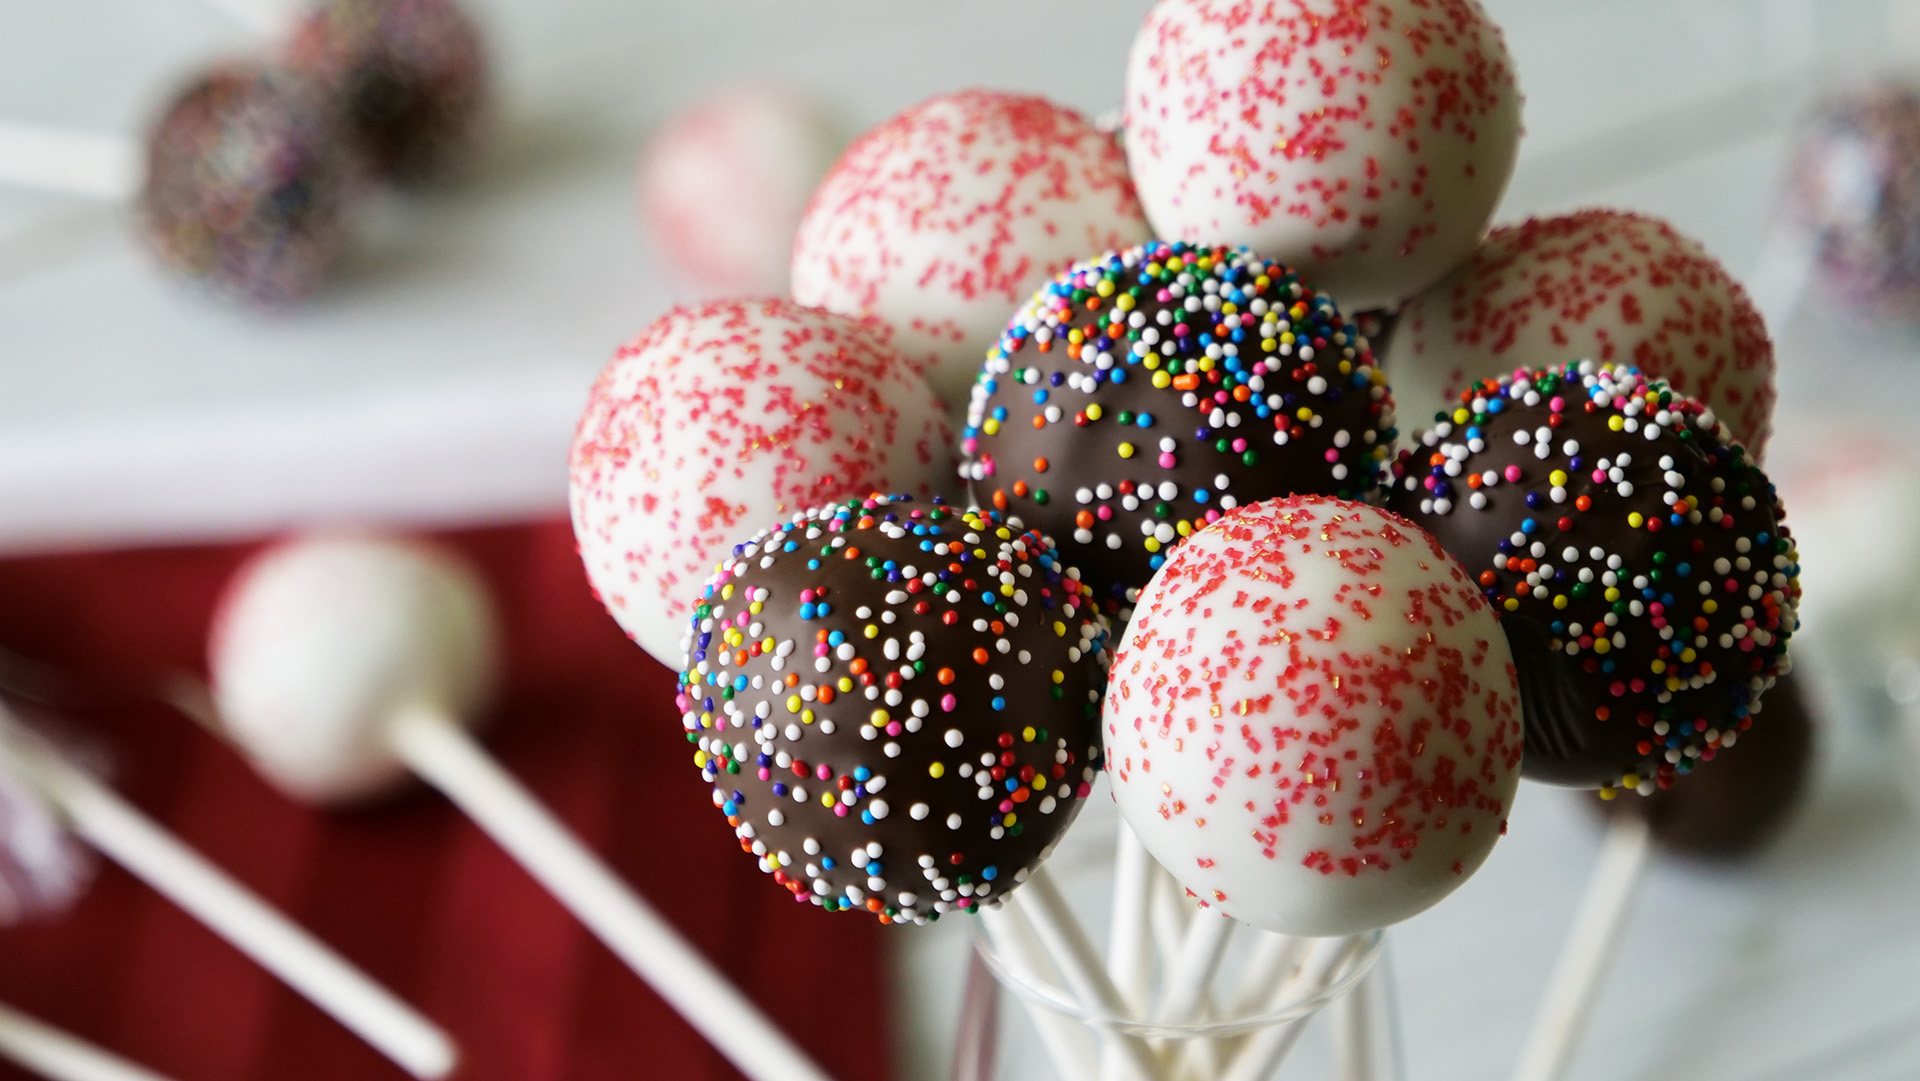
- Remove the prepared balls from the freezer and dip / roll each pop, one at a time, into the melted candy coating. Allow any excess candy coating to drip off. Immediately top with desired sprinkles, and place upright into a styrofoam block until the candy coating has set completely. Repeat with the remaining cake pops.
Notes
Once dried, the cake pops can be easily handled and/or placed in individual wrappers. Thanks to the candy coating, they keep well for several days without going stale.
Our chocolate cake recipes are naturally very moist. If substituting your own favorite chocolate cake recipe, you may need to increase the amount of frosting if your cake is drier.